Running BrightstarDB in IIS
It is possible to run BrightstarDB as a web application under IIS. This can be useful if you want to integrate BrightstarDB services into an existing website or to make use of IIS-specific features such as authentication.
Installation and Configuration
The BrightstarDB service is a NancyFX application and so you can refer to the NancyFX wiki page Hosting Nancy with ASP.NET and other pages of the NancyFX wiki for in-depth details. However, we present here a simple way to get started using IIS to host BrightstarDB.
Install BrightstarDB
The best option is to install BrightstarDB from the .EXE installer as this will create the web application directory for you. The rest of this short guide assumes that you have used the installer and have installed in the default location of C:\Program Files\BrightstarDB - if you installed somewhere else the paths you use will be different.
Create a website in IIS
You can skip this step if you are planning to add BrightstarDB to an existing site. In this example we are going to add BrightstarDB to the default website which, as you can see from the screenshot already hosts several other web applications.
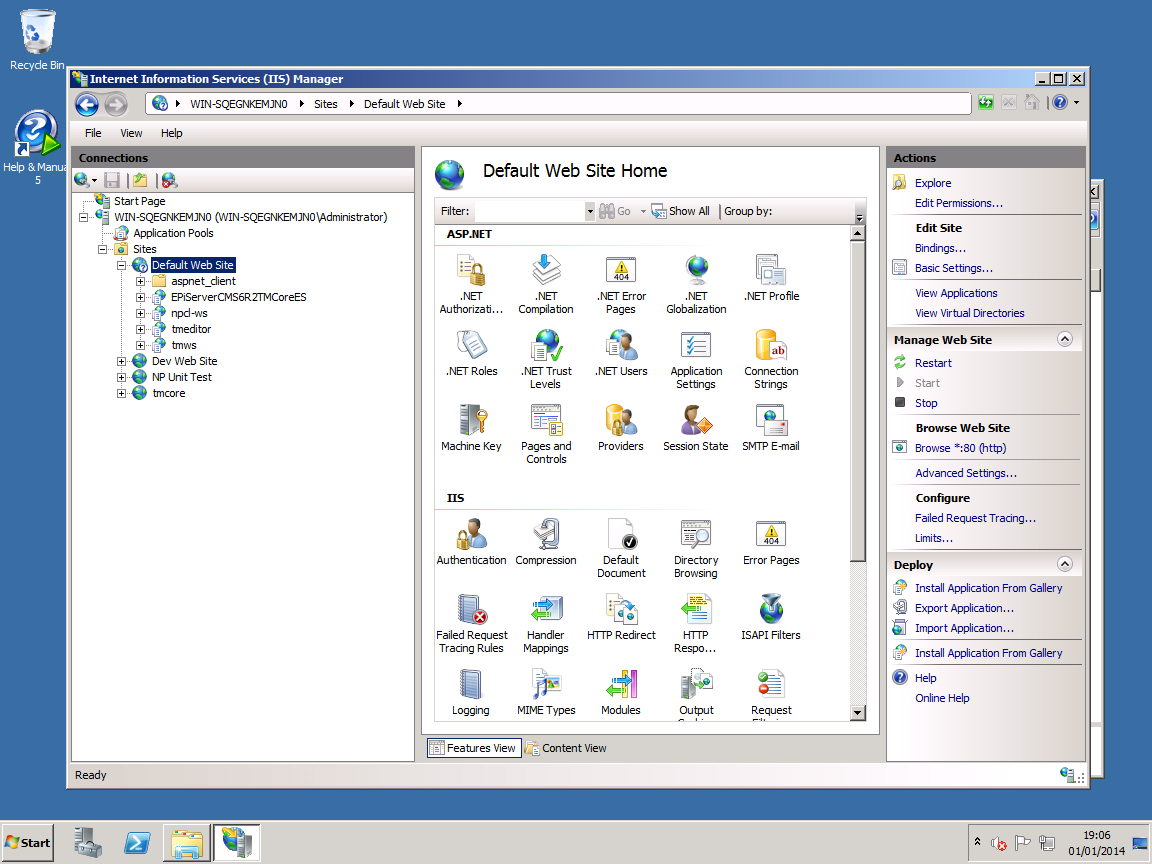
Add an application to the website
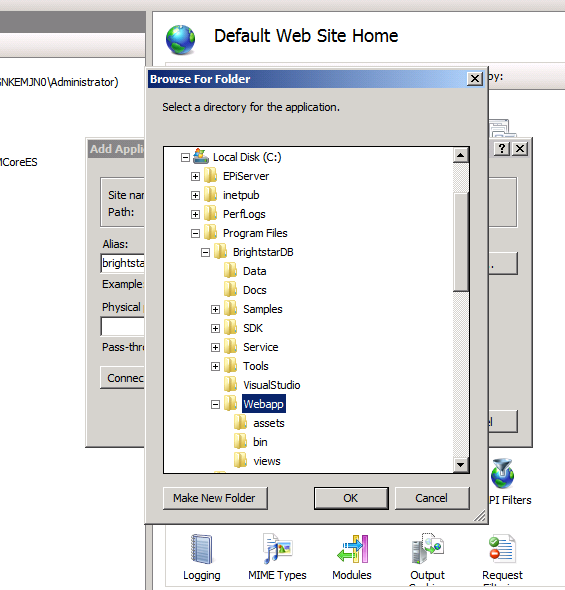
Right-click on the website and select “Add Application...”. In the dialog that comes up enter the alias for the application (in this example the application alias is “brightstardb”, but you can choose some other alias if you prefer). To set the Physical Path click on the ”..” button, browse to C:\Program Files\BrightstarDB\Webapp and click OK to choose that folder.
For the application pool choose an existing application pool that runs .NET Framework version 4.0 with Pipeline mode: Integrated. By default IIS7 has an app pool named ASP.NET 4.0 which has this configuration, but you may want to or need to choose another app pool or create a new app pool for running BrightstarDB. In any case, you should remember the name of the application pool you create and the identity that the application pool runs under.
(OPTIONAL) Change data directory
The data directory is the location where BrightstarDB stores its files. This should be a directory outside the IIS application folders. By default the BrightstarDB web application is configured to use the Data folder under the location where BrightstarDB is installed (e.g. C:\Program Files\BrightstarDB\Data). To change this to a different location, open the web.config file in the web application directory and locate the line:
<brightstarService connectionString="type=embedded;storesDirectory=c:\Program Files\brightstarDB\Data">and change the path to the directory you want to use.
Warning
If you are running BrightstarDB both as a Windows Service and as an IIS application, the two applications MUST NOT use an embedded connection to the same stores directory. If you want to have the IIS web application share the same data as the Windows service, then change the connection string for the web application to use a REST connection to the Windows service (or vice-versa):
<brightstarService connectionString="type=rest;endpoint=http://localhost:8090/brightstar">Set Directory Access Privileges
The final step is to ensure that the application pool that runs the BrightstarDB web application has the permissions required to create and delete files and directories under the data directory. To do this:
- Use Windows Explorer to locate the data directory (if it does not already exist, create it).
- Now right-click on the folder for the data directory and select “Properties”.
- Go to the “Security” tab, and click on “Edit...”.
- In the dialog that is displayed click on the button labelled “Add...”
- Enter the identity of the application pool that is running the BrightstarDB web application. If the application pool is set to a local user identity, enter the name of the user here. If the application pool is set to use a domain user identity, enter the name of the user as DOMAINUser Name. If the application pool is set to use AppPoolIdentity, enter the name of the user as IIS AppPoolApp Pool Name.
- Click “OK” and then in the Permissions dialog check the box for “Full control” under the “Allow” column for the user you just added to the permissions. The result should be something like shown in the screenshot below.
- Click “OK” to exist the Permissions dialog and “OK” again to exist the Properties dialog.
Browse the Site
You should now be able to connect to your site and the BrightstarDB application underneath it. By default the application name will be part of the path, so if you installed the application with the alias “brightstardb” under a server accessible as http://localhost/, then the URL for the BrightstarDB service will be http://localhost/brightstardb/